WordPress Tutorial for Beginners and step-by-step procedure to set up a complete website should be known by beginners who are ready to earn money online by setting up their own website using WordPress.
In order to know more about setting up a website, first, we should need to know about WordPress. It is one of the most emerging platforms bloggers use to easily earn money with less complexity. With WordPress they can build an excellent responsive website without coding knowledge.
WordPress is the best content management system using all around the world. Using this platform, we can set up our website quickly. That is why most bloggers, news magazines, and online newspapers are using this platform.
To set up a website, first, we should have a domain and preferred hosting provider (server). We will talk about these in the following steps.
- Registering a custom domain Name
- Purchasing the Hosting
- Adding to add-on domains and installing WordPress in the Cpanel
- Basic things that need to do After installing WordPress
- Creating the needed pages and categories
- Installing the theme and extra needed plugins
- Menu set up and customizing the website
The detailed information about the procedure is given below. Follow these easy steps to set up the website in an easy manner.
Step-1: Registering A custom domain name:
If you’re like most people, you probably have a handful of domain names that you use to represent different aspects of your online presence. Maybe one is for your personal website, one is for your business website, and maybe another is for an affiliate site that you run. But what if you want to set up a brand new website? Or maybe you’re just looking to spruce up an existing website? You could go with a generic domain name like example.com or business.com, but those don’t really represent who you are or what your site is all about. Wouldn’t it be nice to have a URL that reflects your unique personality and profession? That’s where custom domains come in!
Domain name is the main thing for any website and it is called as URL or web address of the website.
Domain names are of different types they are mainly TLD’s, country-level domains and specific domains. TLD means top-level domains
Top level domains are mainly three types. These are universal domain names which are can be used throughout the world.
Types of Top level domains are
.com type – Mainly for brands and companies
.org type -Mainly for organizations
.net type – Mainly for technology blogs, etc.
Country level domains are specified to countries with specific country codes(extensions)
.in and .co.in are especially for India
.us is especially for united states
.co.uk and .uk are especially for united kingdom
.sa is especially for South Africa
like this, every country has their specific country-level domain extensions.
Specific Domains are having the specific niche extensions like .club, .online, .news, .tech, .design, .video, .studio, .dance, .actor, .social, .reviews , .computer, .rocks, .pet, .cloud, .me, .lol, .forsale, .xyz, .ninja, .bio and .tv etc.
Domain availability checking needs innovative thinking, and generally, the domain names with direct keywords may not be available because of the competition. In the selection of domain name, it’s length should be short, and name should be a cache one that needs to remember by the visitors.
The first step is to find a domain name that is available and has not been registered yet. You can do this by using a domain search engine such as Namescape or GoDaddy.
Once you have found a domain name that you would like to register then register the domain name from the provider. This can be done using a variety of methods, including through a third-party seller such as GoDaddy or Namescape. After purchasing the domain name, you will need to activate it and configure your hosting account in order to use it.
Step-2: Purchasing the hosting or Go for free hosting:
In order to set up the website live, we definitely need the hosting provider (hosting server). In this case, we can go for premium hosting or we can go for free hosting services. Preferring premium hosting is better than free hosting because of the security and support issues.
Generally, hosting is of three types
- Shared hosting or WordPress hosting
- VPS hosting
- Dedicated server
Generally, we will go for shared hosting Initially.
I am mentioning the best hosting service providers with good track records and customer support.
- HostGator
- Bluehost
- Known host
- Interserver
- A small orange
Step-3: Changing the domain name servers:
Changing the domain name servers is a simple task. When you purchase the hosting, the service provider will provide the Domain name servers in the invoice message. Changing the domain name servers is shown in the following steps.
First login into your domain provider account (ex: login into your GoDaddy or big rock account)
Then go to the Manage my domain option, click on the settings tab, and change the domain name servers; that is clearly mentioned in the following images and video.
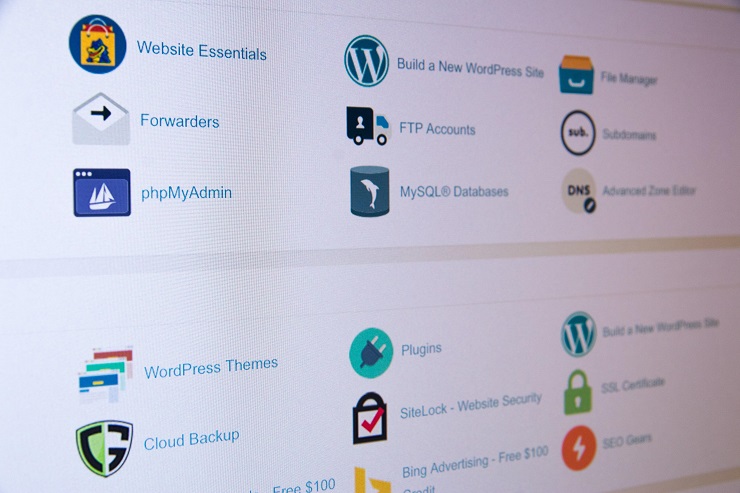
Step-4: Installing the WordPress in the Cpanel
What is Cpanel?
Cpanel is a managed hosting company that provides users with a platform to manage their web hosting accounts. Cpanel allows users to customize the look and feel of their hosting interface and add additional features such as domain registration and server management.
If your hosting provider does not offer WordPress installation, you can do this from the cPanel, using Softaculous. Here are the steps:
- Head over to cPanel -> Home -> Software
- Select Softaculous Apps Installer.

- From the menu on the left, type “WordPress in the search bar.
- Select the WordPress icon that will show up.
- From the menu that appears, click on “Install”.
- Next, you have the option to choose a quick install or a custom one. The forms that you will need to fill in will be different, depending on your choice.

- A form will show up, so fill it in. There are some pre-filled default values, you can leave them as they are if you want.
- Next, you need to specify the Installation URL, meaning the domain where you want to install WordPress.

- Next, it’s time to fill in the WordPress admin username, password, and email address. Then you must select the language in which you want to install WordPress.
- When the form is filled in, just hit “Install” at the bottom of it.


and, you’re done!